针对下拉框选项,可以直接获取下拉框中的值,然后再循环获取匹配,也可以直接通过元素定位直接操作。
针对select/option这样下拉选择框,如图展示:

我们可以直接使用webdriver中的Select类去处理 。
首先是引入Select类(两种引包方法):
from selenium.webdriver.support.select import Select
from selenium.webdriver.support.ui import Select
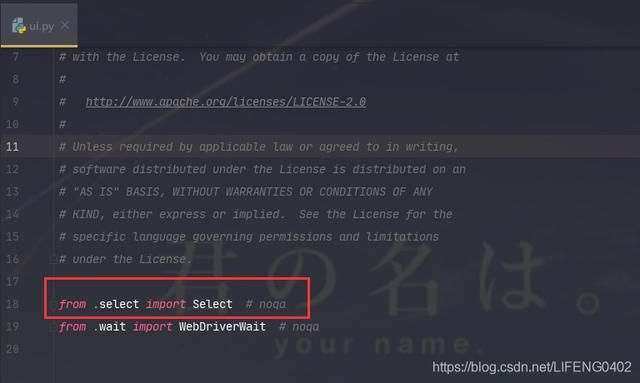
ui.py文件中实际引入的也是 select下的Select类,所以我们引入ui包实际引入的还是Select类:
源码中Select下有很多方法,专门用于处理下拉选择框操作:

- options:返回属于该选择标签的所有选项列表
from selenium import webdriver
from selenium.webdriver.support.select import Select
from selenium.webdriver.common.by import By

driver = webdriver.Chrome()
driver.get('https://www.w3school.com.cn/tiy/t.asp?f=html_select')
driver.find_element_by_xpath("//a[contains(text(),'运行代码')]").click()
iframeResult = driver.find_element_by_xpath("//iframe[@id='iframeResult']")
driver.switch_to.frame(iframeResult)

result = Select(driver.find_element(By.CSS_SELECTOR, "body:nth-child(2) > select:nth-child(1)")).options
for i in result:
    print(i.text)
运行后的结果:下拉选择框中的数据循环打印显示在控制台
F:\virtualEnvironment\venv\Scripts\python.exe F:/git/AuomationTest/AuomationTestProject/webTestAuomation/selenium_select.py
Volvo
Saab
Opel
Audi

Process finished with exit code 0
- all_selected_options:返回属于此选择标签的所有选择的选项列表
result = Select(driver.find_element(By.CSS_SELECTOR, "body:nth-child(2) > select:nth-child(1)")).all_selected_options
for i in result:
    print(i.text)
driver.quit()
运行后的结果:下拉选择框中循环打印被选中的的选项
F:\virtualEnvironment\venv\Scripts\python.exe F:/git/AuomationTest/AuomationTestProject/webTestAuomation/selenium_select.py
Volvo

Process finished with exit code 0
- first_selected_option:该选择标签中的第一个选择的选项(或正常选择中当前选择的选项)
result = Select(driver.find_element(By.CSS_SELECTOR, "body:nth-child(2) > select:nth-child(1)")).first_selected_option
print(result.text)
driver.quit()
运行后的结果:打印下拉框中第一个被选中的的选项
F:\virtualEnvironment\venv\Scripts\python.exe F:/git/AuomationTest/AuomationTestProject/webTestAuomation/selenium_select.py
Volvo

Process finished with exit code 0
下面示例html代码:
<!DOCTYPE html>
<html>
<body>

<select>
  <option value="volvo">Volvo</option>
  <option value="saab">Saab</option>
  <option value="opel">Opel</option>
  <option value="audi">Audi</option>
</select>

</body>
</html>
- select_by_value:选择所有值都与参数匹配的选项。
例如: select_by_value("volvo"),选择的就是第一个:" <option value="volvo">Volvo</option> "
- select_by_index:选择给定索引处的选项。这是通过检查元素的“索引”属性来完成的。
例如:select_by_index(1),选择的就是第二个:" <option value="saab">Saab</option> "
- select_by_visible_text:选择所有显示与参数匹配的文本的选项。
例如:图片标蓝框处的文本信息 ,select_by_visible_text("Audi"),选择的就是第四个:" <option value="audi">Audi</option> "
下面示例代码,仅供参考:
result = Select(driver.find_element(By.CSS_SELECTOR, "body:nth-child(2) > select:nth-child(1)"))
result.select_by_index(1)
for i in result.all_selected_options:
    print(i.text)
result.select_by_value("opel")
for i in result.all_selected_options:
    print(i.text)
result.select_by_visible_text("Audi")
for i in result.all_selected_options:
    print(i.text)
time.sleep(10)
driver.quit()
运行后的结果:每一个获到参数的方法全部都做了循环并打印到控制台
F:\virtualEnvironment\venv\Scripts\python.exe F:/git/AuomationTest/AuomationTestProject/webTestAuomation/selenium_select.py
Saab
Opel
Audi

Process finished with exit code 0
- deselect_all:清除所有选定的条目。这仅在SELECT支持多个选择时才有效。
- deselect_by_value:取消选择所有值都与参数匹配的选项。
- deselect_by_index:取消选择给定索引处的选项。
- deselect_by_visible_text:取消选择所有显示与参数匹配的文本的选项。
result = Select(driver.find_element(By.CSS_SELECTOR, "body:nth-child(2) > select:nth-child(1)"))
result.deselect_by_index(1)
result.deselect_by_value("opel")
result.deselect_by_visible_text("Audi")
result.deselect_all()
time.sleep(10)
driver.quit()
deselect_xxxxxxx开头的方法,就是取消选中操作的意思,如果没有指定值存在就会抛异常:NotImplementedError, 取消的方法其实就是跟选中的方法一样操作,无非就是先选中后再进行取消操作,在此就不再多作叙述,可自行实操下效果...
以上总结或许能帮助到你,或许帮助不到你,但还是希望能帮助到你,如有疑问、歧义,评论区留言会及时修正发布,谢谢!
未完,待续…一直都在努力,希望您也是!
,